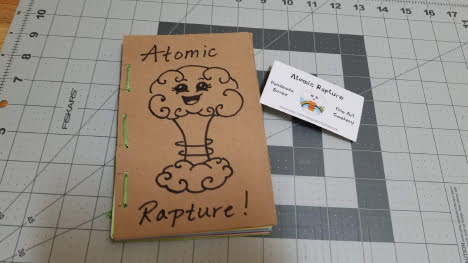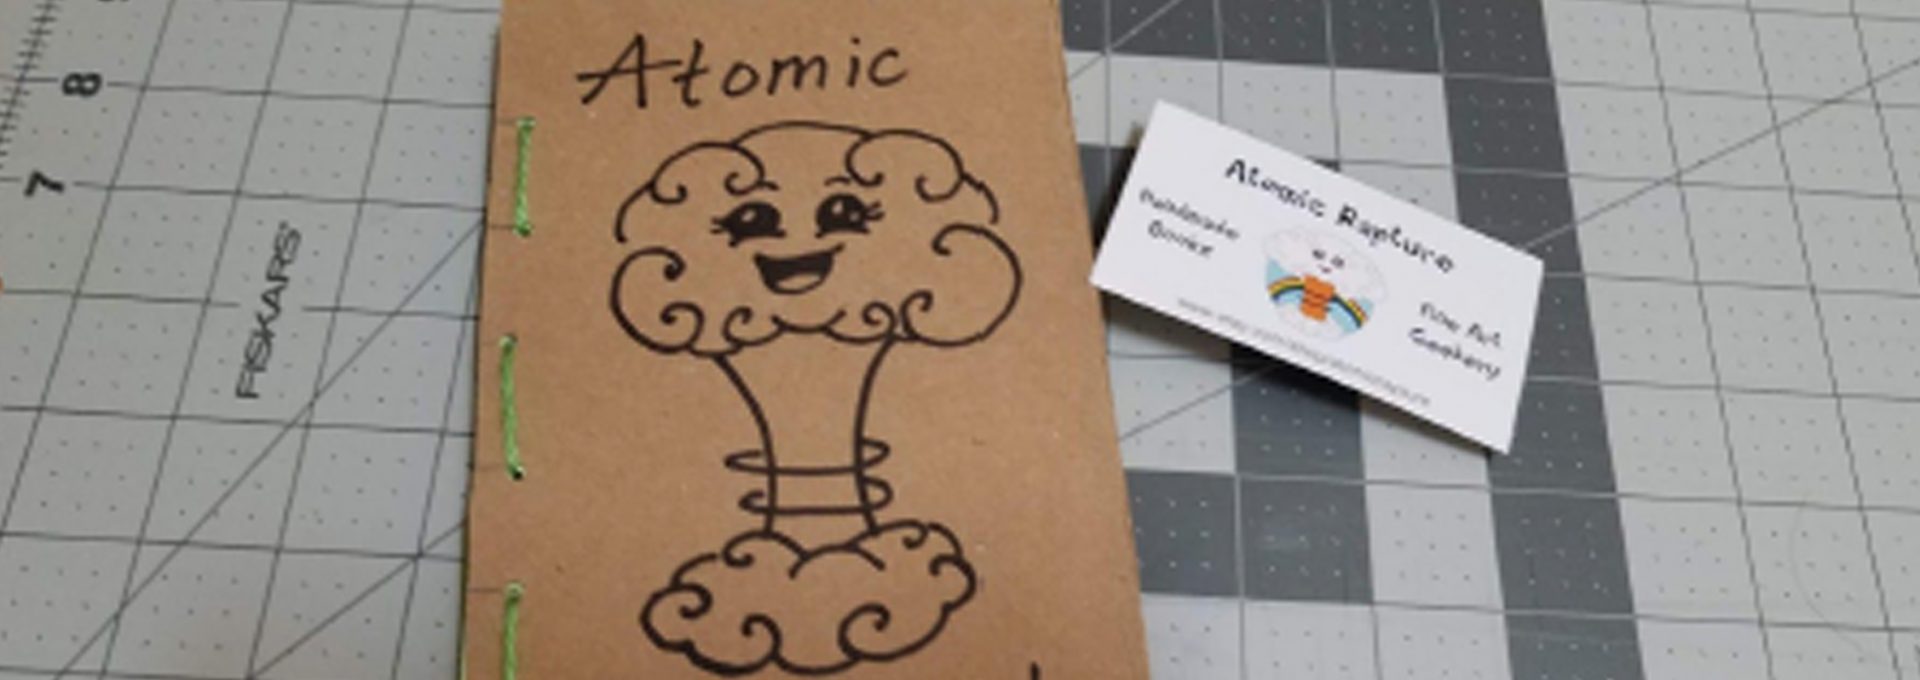
Ever wanted to make your very own book? It’s time to get crafty and creative with this fun, DIY book-making tutorial thanks to Atomic Rapture! Let’s make a book using materials you can probably find around the house! Kids, make sure to ask a parent or guardian for permission before using scissors.
Be sure to share using #ACJrAtHome. Also be sure to check out Atomic Rapture on Etsy.

Materials:
- Empty box
- Hole punch
- Scissors
- Paper (can be any type; you can even recycle junk mail if you want to!)
- Ruler (or a handy cutting mat like the one in the picture)
- Yarn or string
- A darning needle (unless you punch holes big enough to thread your yarn through by hand)
Did you find everything? Great! Let’s get to work.
Step 1: Cut your cardboard to the size you want your book covers to be.
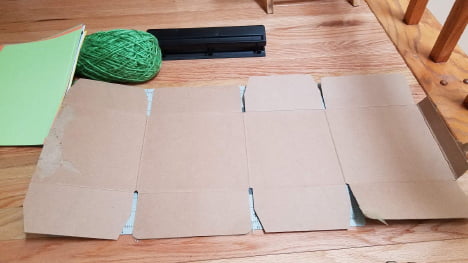
You might have to break your box open like I did. It will make it easier to cut.
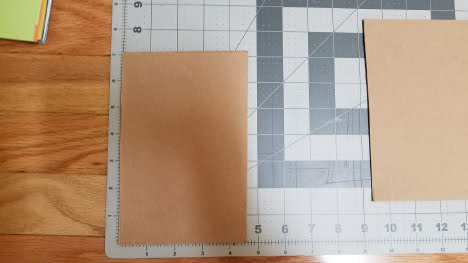
I chose to make my covers 7 inches by 4.5 inches.
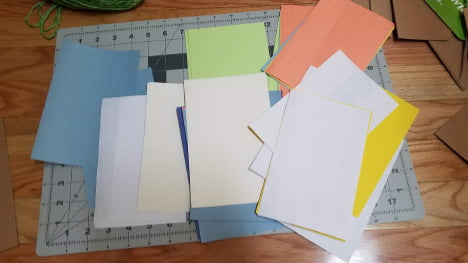
Step 2: Cut your paper to the same size as your covers.
I used everything from old math worksheets to construction paper. Literally any type of paper will work here as long as you can cut it to be the size of your cover!

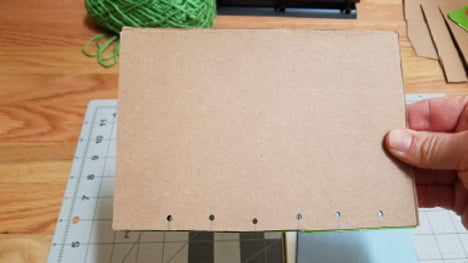
Step 3: Measure where you would like your holes to be for the binding.
You can do as few as 2 holes if you want to save some time and steps, but the binding will be looser the fewer holes you have. I chose to make a hole at every inch. Make sure, however you measure, you have an even number of holes.
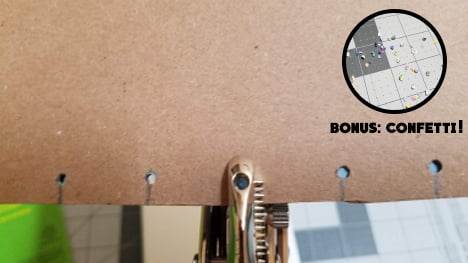
Step 4: Get punching!
Use your hole punch to make holes in your covers and pages. You may need a grown-ups’ help if your cardboard is thick.
You can use your cover as a guide for your pages to make sure all of the holes line up. Remember, you can always ask a grown up for help!
Step 5: This is where your darning needles comes in!
No worries if you don’t have one. You can thread your string or yarn by hand if you used a standard sized hole punch! Cut a piece of yarn or thread that is two feet long.
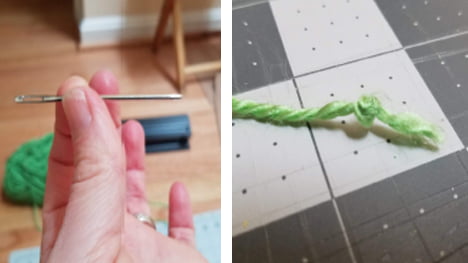
Tie a double knot in the end of your thread. If using a needle, thread the other end through your
needle.
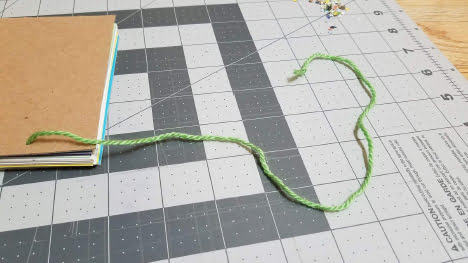
Step 6: Get sewing!
Pass your thread through your top cover, and all of the pages, and pull it out through the back cover. Make sure you leave a tail that is about seven or eight inches long.
Stitch from back to front starting at the next hole over on the bottom cover.
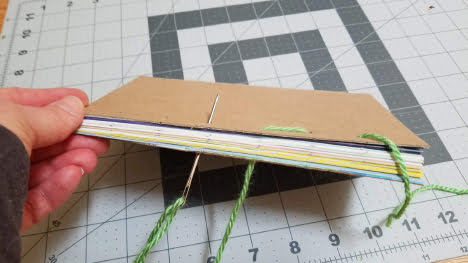
Continue until you’ve reached the last hole.
Both ends of your thread should be poking out of your top book cover like the picture above.

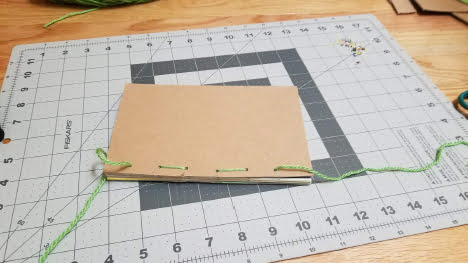
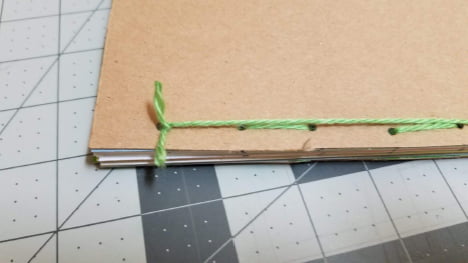
Step 7: Tie the ends of your thread together using a double knot.
Then trim the ends of the thread so that you have about half an inch remaining above your knot.
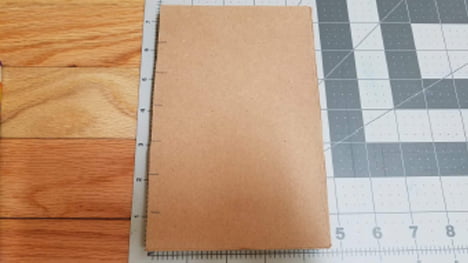
Step 8: Flip your book over and decorate your cover however you would like and you’re all done!
You’ve created your own book. Fill up your pages with stories or drawings, or give it as a gift! We hope you had fun making it!